Crispy skin chicken thighs
The cheapest cut, the tastiest result.
Ad As an Amazon Associate I earn from qualifying purchases. How this works
Gear for this recipe
Affiliate links, no extra cost to you. It helps the channel grow. Thank you so much for your support. No prices here because Amazon changes them daily.
Why chefs leave chicken uncovered in the fridge
In restaurant kitchens, chicken for crispy skin is often salted and left on a rack in the fridge with no cover. It looks odd at home, but it is the single biggest upgrade to this recipe.
What it does
The cold air dries the skin. Fridge air is dry, so moisture on the surface of the skin slowly evaporates. Skin can only brown and crisp once its water has gone; wet skin steams in the pan and stays pale and rubbery.
The salt seasons the meat. Salt first draws a little moisture out, then dissolves into it and is drawn back into the meat. This is called dry-brining: the chicken is seasoned all the way through, not just on the surface.
How to do it safely
- Pat the thighs very dry with kitchen paper. Do not wash raw chicken; it only splashes bacteria around the sink.
- Salt the skin side, then sit the thighs skin up on a rack over a tray.
- Put the tray on the bottom shelf, away from cooked and ready-to-eat food, so nothing can drip onto it.
- Leave for at least 1 hour, or overnight for the crispiest skin, then cook as below.
Ingredients
Serves 4. Prep 10 minutes, cook 30 minutes, rest 5 minutes.
- 4 bone-in, skin-on chicken thighs
- 1 tsp salt, plus black pepper
- 1 tsp smoked paprika (optional)
- 1 tbsp olive oil
- 2 garlic cloves, lightly crushed
- 2 sprigs rosemary or thyme
- Lemon wedges to serve
Method
- Heat the oven to 200°C / 400°F (180°C / 350°F fan). Pat the thighs very dry. Salt the skin and, if you have time, leave them uncovered in the fridge for an hour or overnight. The skin dries and crisps better.
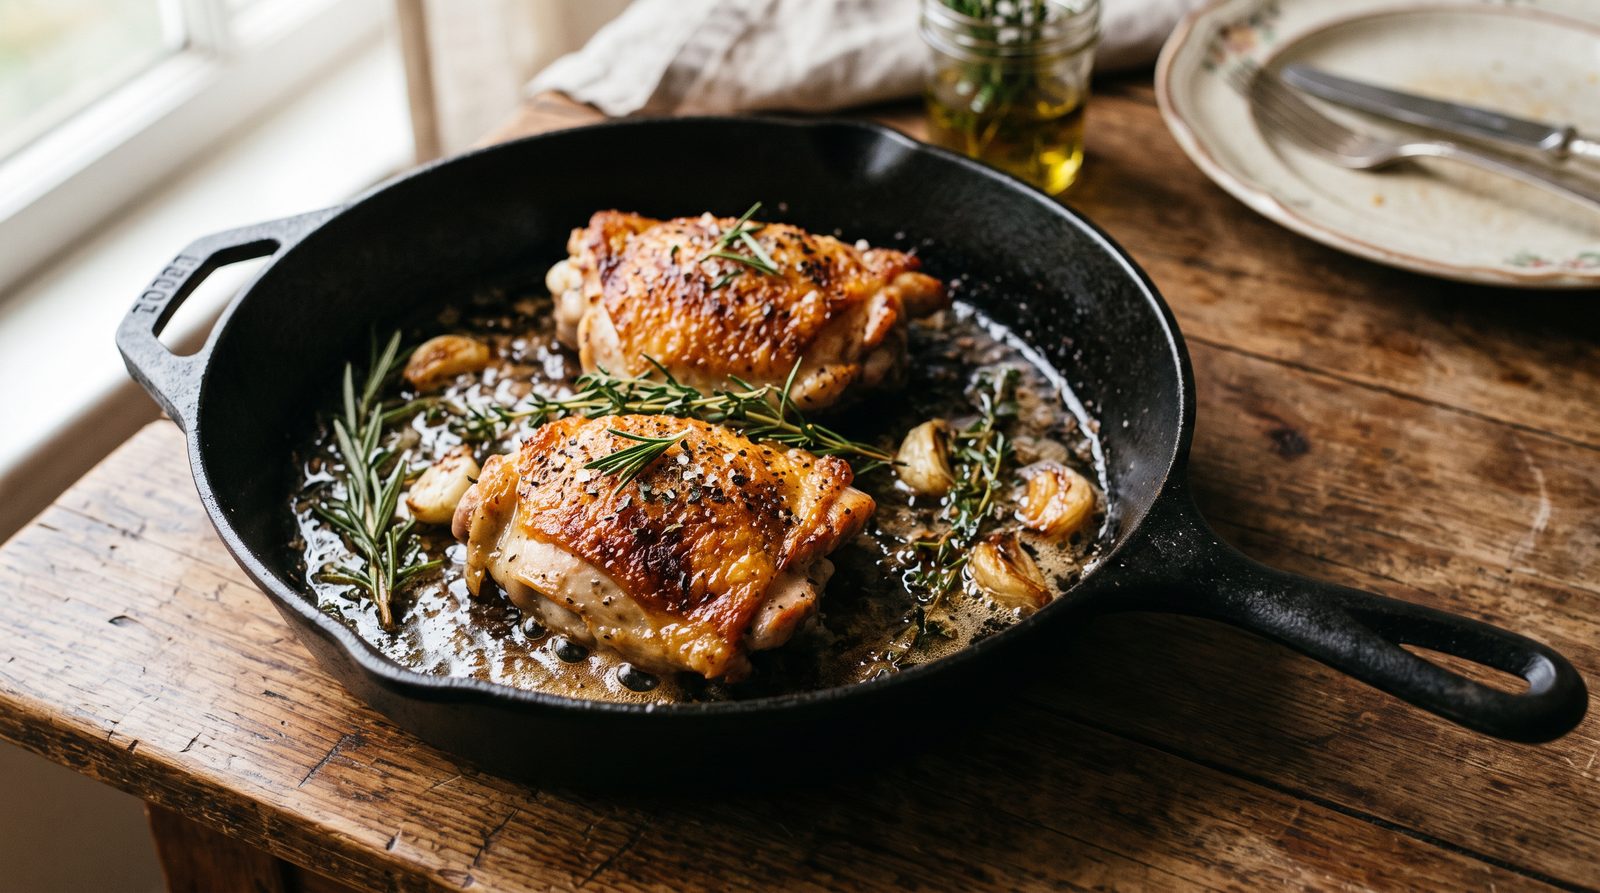
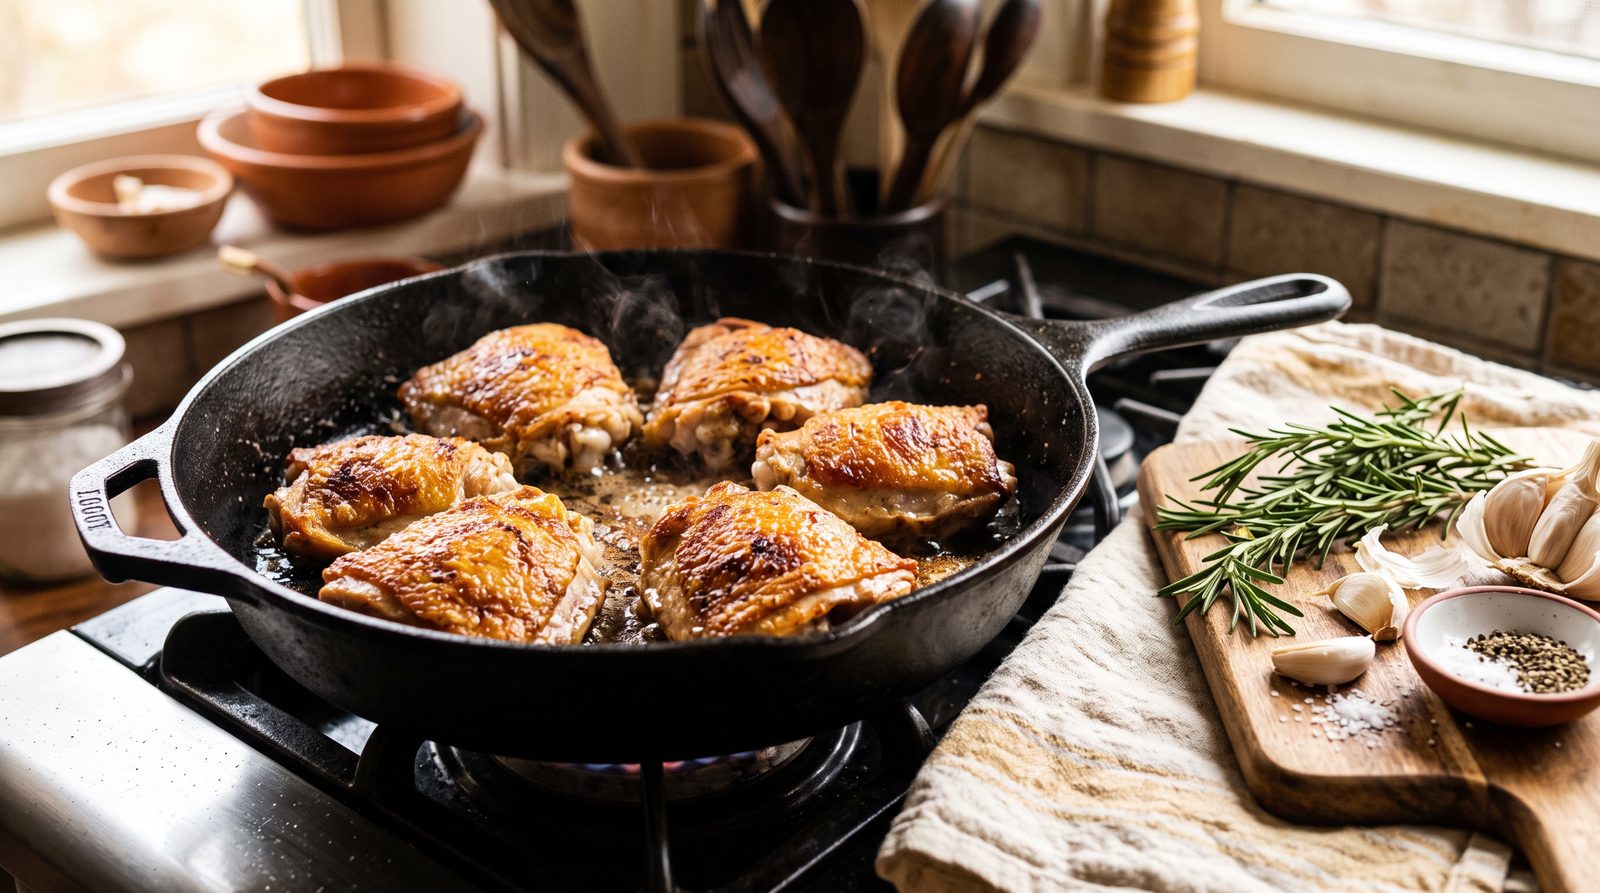
- Heat the cast iron pan over a medium heat. Add the oil and lay the thighs in skin side down, with space between them.
- Cook for 8-10 minutes without moving them, until the skin is deep golden and releases easily.
- Flip, add the garlic and herbs, and move the pan into the oven for 15-20 minutes.
- The chicken is done when the juices run clear when you pierce the thickest part with a knife – 75°C / 167°F if you have a probe. Rest for 5 minutes.
- Serve with the pan juices and a lemon wedge.
Tips from the kitchen
- Start in a cold-to-medium pan if you want the fat to render slowly. Start hot for a fast sear. Both work; be patient either way.
- Do not crowd. Cook in two batches rather than steaming the skin.
- Dry-brining with salt is the biggest upgrade you can make. See salting and seasoning.
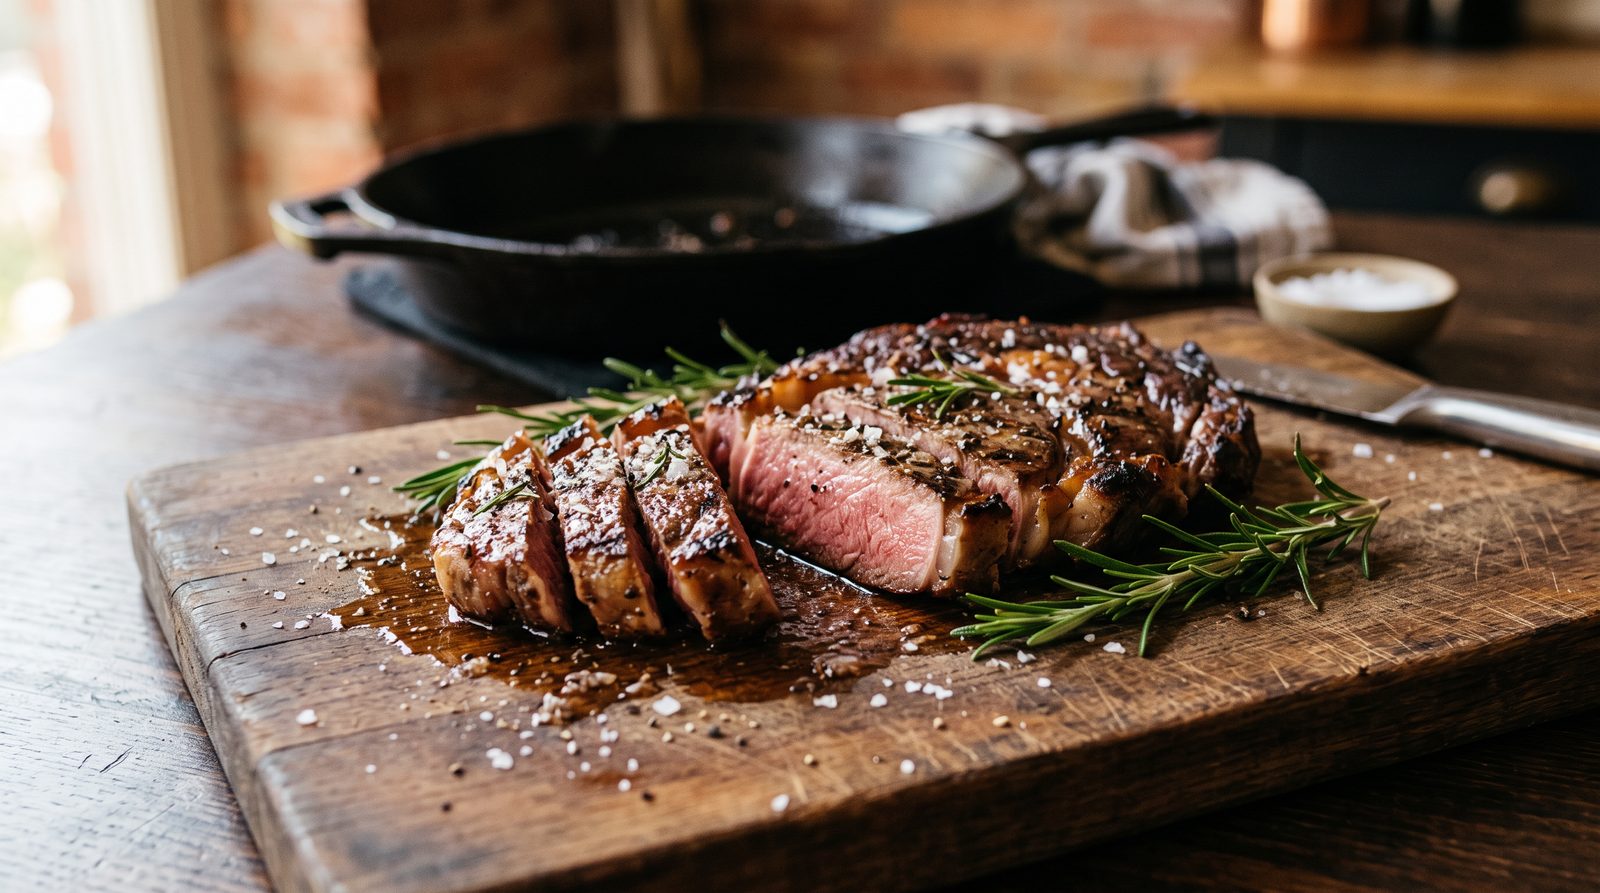
- Pair with cauliflower mash or roasted green beans.
Tools that help
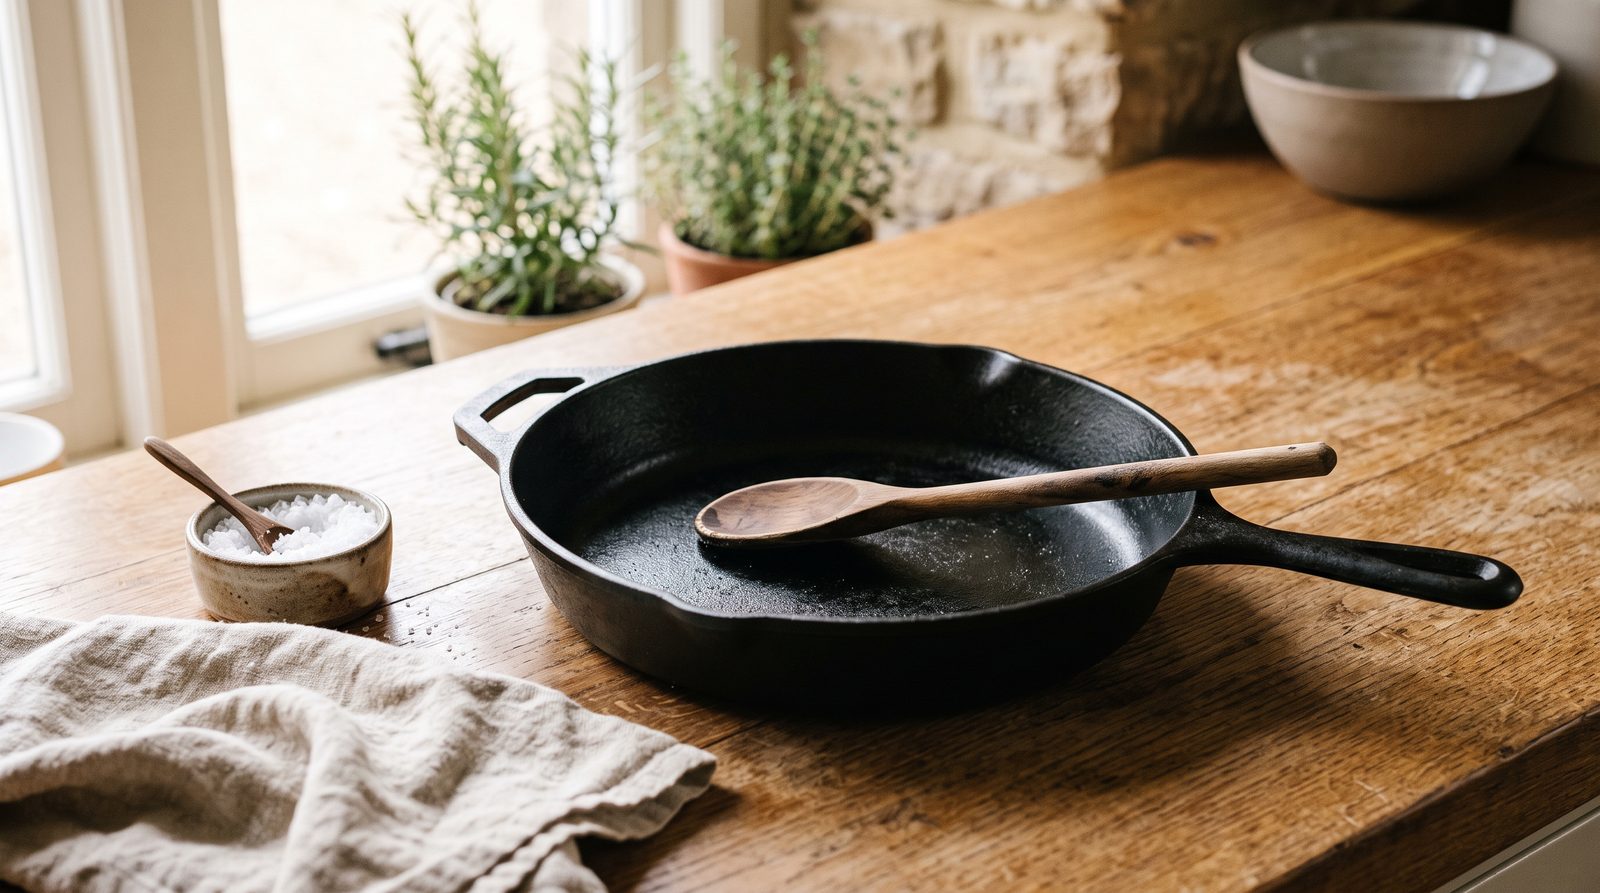
Lodge cast iron pan
Goes from hob to oven in one piece, so you get the crisp skin and juicy meat in one pan.
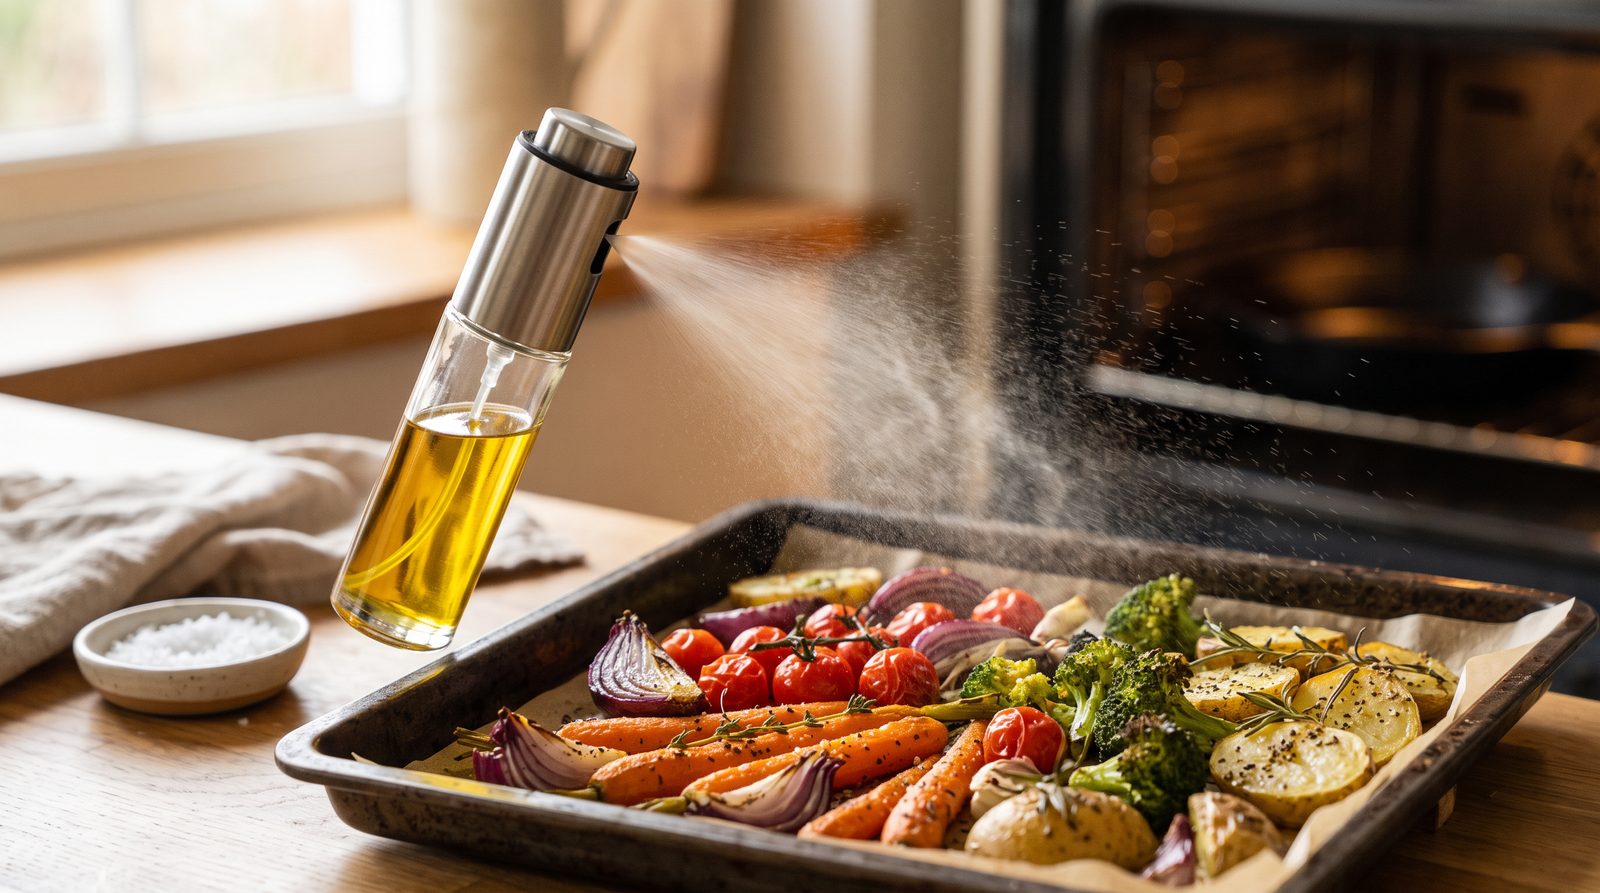
View on AmazonOlive oil spray bottle
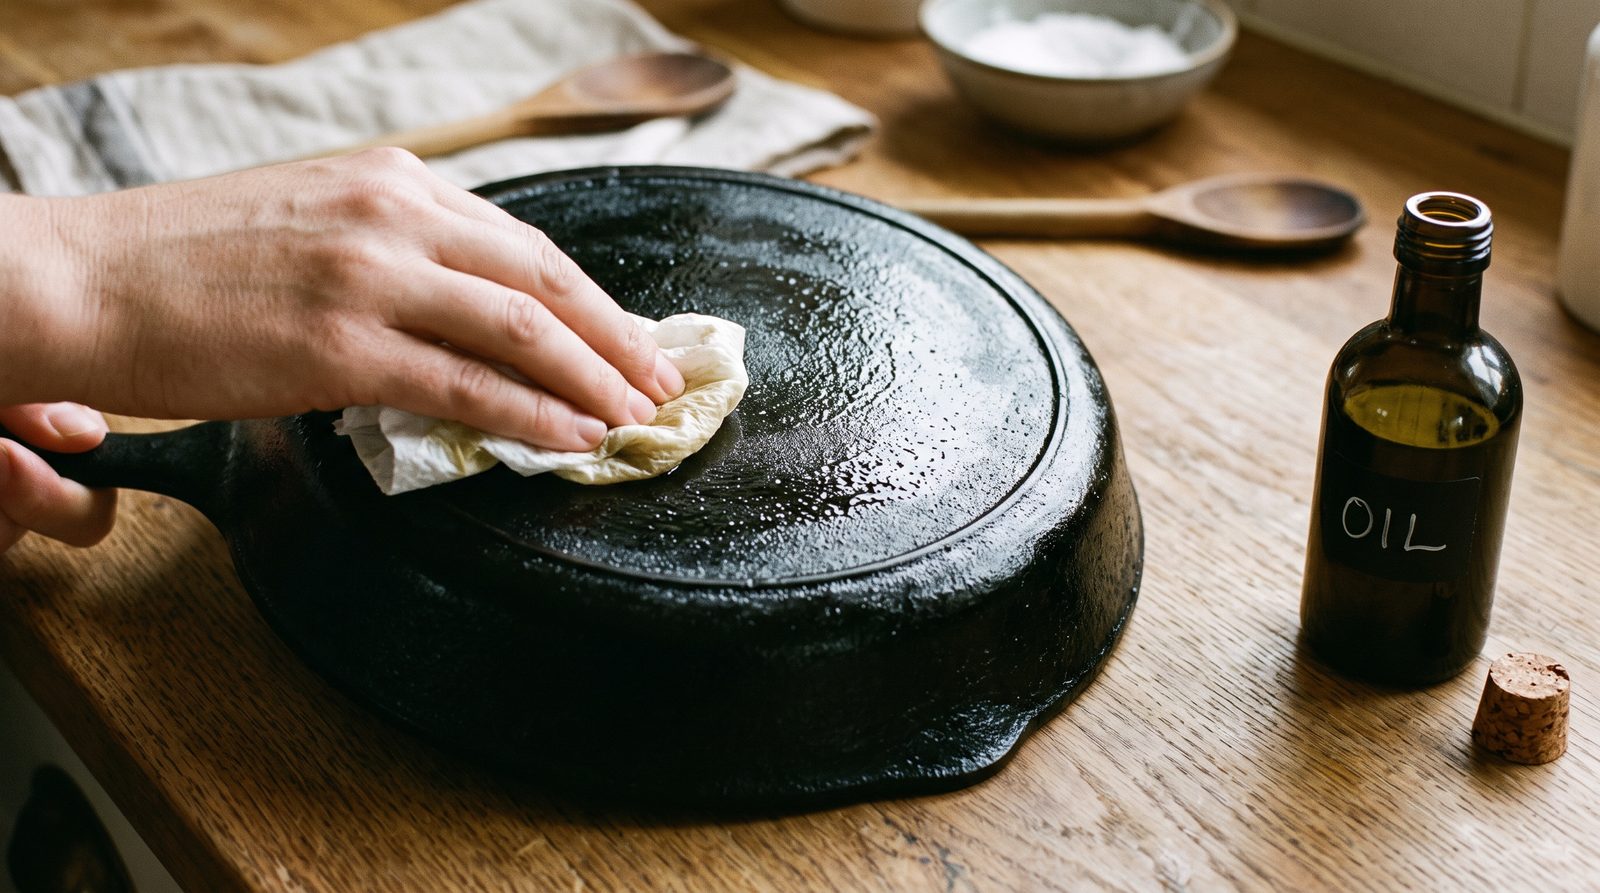
A light spray of oil on the vegetables roasting beside the chicken.
View on AmazonChef Niko recommends
Three simple tools behind most of the recipes here. Amazon Associate links.
Keep reading
As an Amazon Associate I earn from qualifying purchases. Links to products here may be affiliate links; if you buy through them I may earn a small commission at no extra cost to you. It helps the channel grow. Thank you so much for your support.
This is a recipe, not dietary or medical advice.

Was this helpful?
Your answer tells Chef Niko what to fix and what to write next.
Made it? Rate it
Tap the stars. One tap, no sign-up.
No name, no email, no cookies. What we keep.